|
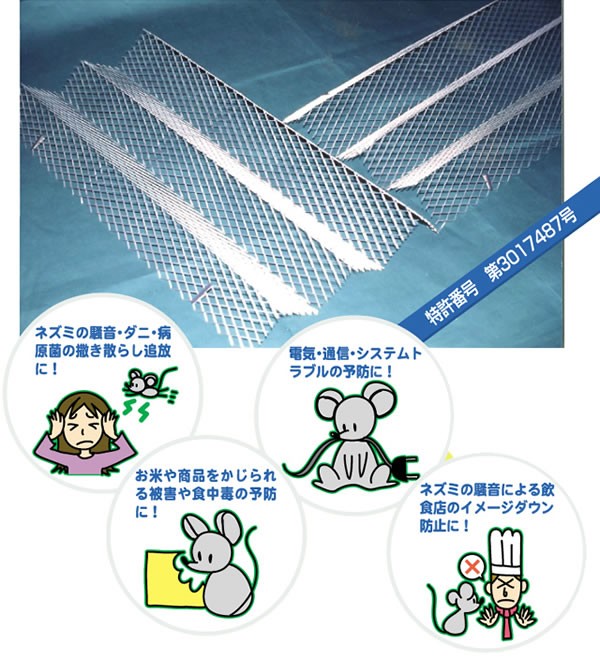
| Prevent rodent damage simply by installing it!
|
|
The wire mesh has blades which rats dislike, making it difficult for them to move around.
Once installed, it will be effective for a long period of time (approximately 30 years).

The metal netting is shaped like sharp blades, which can easily scratch the paws of mice, making them reluctant to come into contact with it and keeping them away.
|

The effect begins as soon as it is installed, and once installed, the effect will continue as long as the house exists.
|
This is a very light product, so no reinforcement is required and it can be installed even by a DIYer.
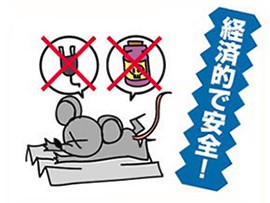
Since it does not use electricity or chemicals, it requires no expenses and is harmless and safe.
|
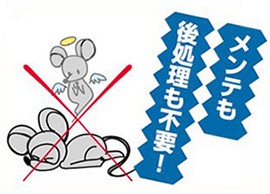
Once installed, no maintenance is required.
In addition, there is no need to dispose of dead mice or other debris afterwards.
|
|
|
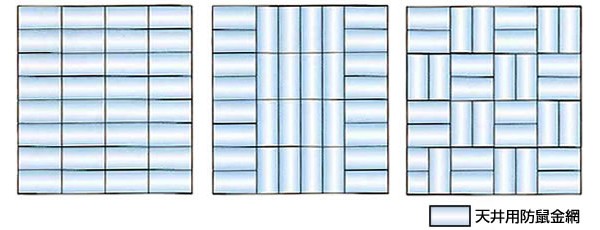
| How to install a ceiling rodent-proof wire mesh
|
- Please install them as tightly as possible.
- If the area you want to install the traps in is large, focus on installing them along walls where mice tend to be active.
- If there are any obstacles or protrusions, make sure to install the unit around them.
Installation example (8 tatami mat room, 32 pieces of anti-rodent wire mesh installed on the ceiling)
New facility construction procedures
- Installation of beams, girders (partition walls), walls, etc.: Please carry out this work prior to the ceiling underground construction.
- Installation in the attic: Overlap the "M-shaped net" around the attachment points between the beams (partition walls) and the ceiling material, and proceed with the installation at the same time as you finish the attic.
- Laying on the ceiling of a large hall, etc.: If laid along the partition wall, it will still be effective even if the central part is thinned out.
- Installation at the waist and bottom of the wall: Stand it up against the inside dimension of the space between the pillars and install so that it is in close contact with the inner and outer materials at regular intervals, alternating between them.
- Example of Japanese-style room ceiling construction

● Procedure for installing existing houses
- Installation in the attic: Remove the inspection hole in the closet ceiling or part of the floorboards on the second floor and lay the cable through there using a stick or something similar.
- Installing a raised ceiling: Remove the safe central section and install it in all four directions.
- Installation in places with obstacles: Even if there are areas where installation is impossible due to protrusions, it will still be effective if the cable is installed around the area.
- Installation example of existing house ceiling

|
|
| Precautions for Use |
- This product has sharp edges, please wear gloves and long sleeves when handling.
- Take sufficient care not to step over or fall from ceiling panels, etc., and prepare scaffolding if necessary.
- When installing in a dark place, be sure to illuminate the area with a bright light and inspect the area thoroughly.
- Please be mindful of electrical and communication cables and take sufficient care to avoid electric shock.
- If necessary, follow the instructions of relevant contractors when carrying out the work.
|
|